How to properly repair an unglued sole
If almost the entire outsole is detached: head to a shoe expert or get new shoes! You can only repair your shoes if a small part (heel, middle or toe) is unglued, here's how to reglue it:
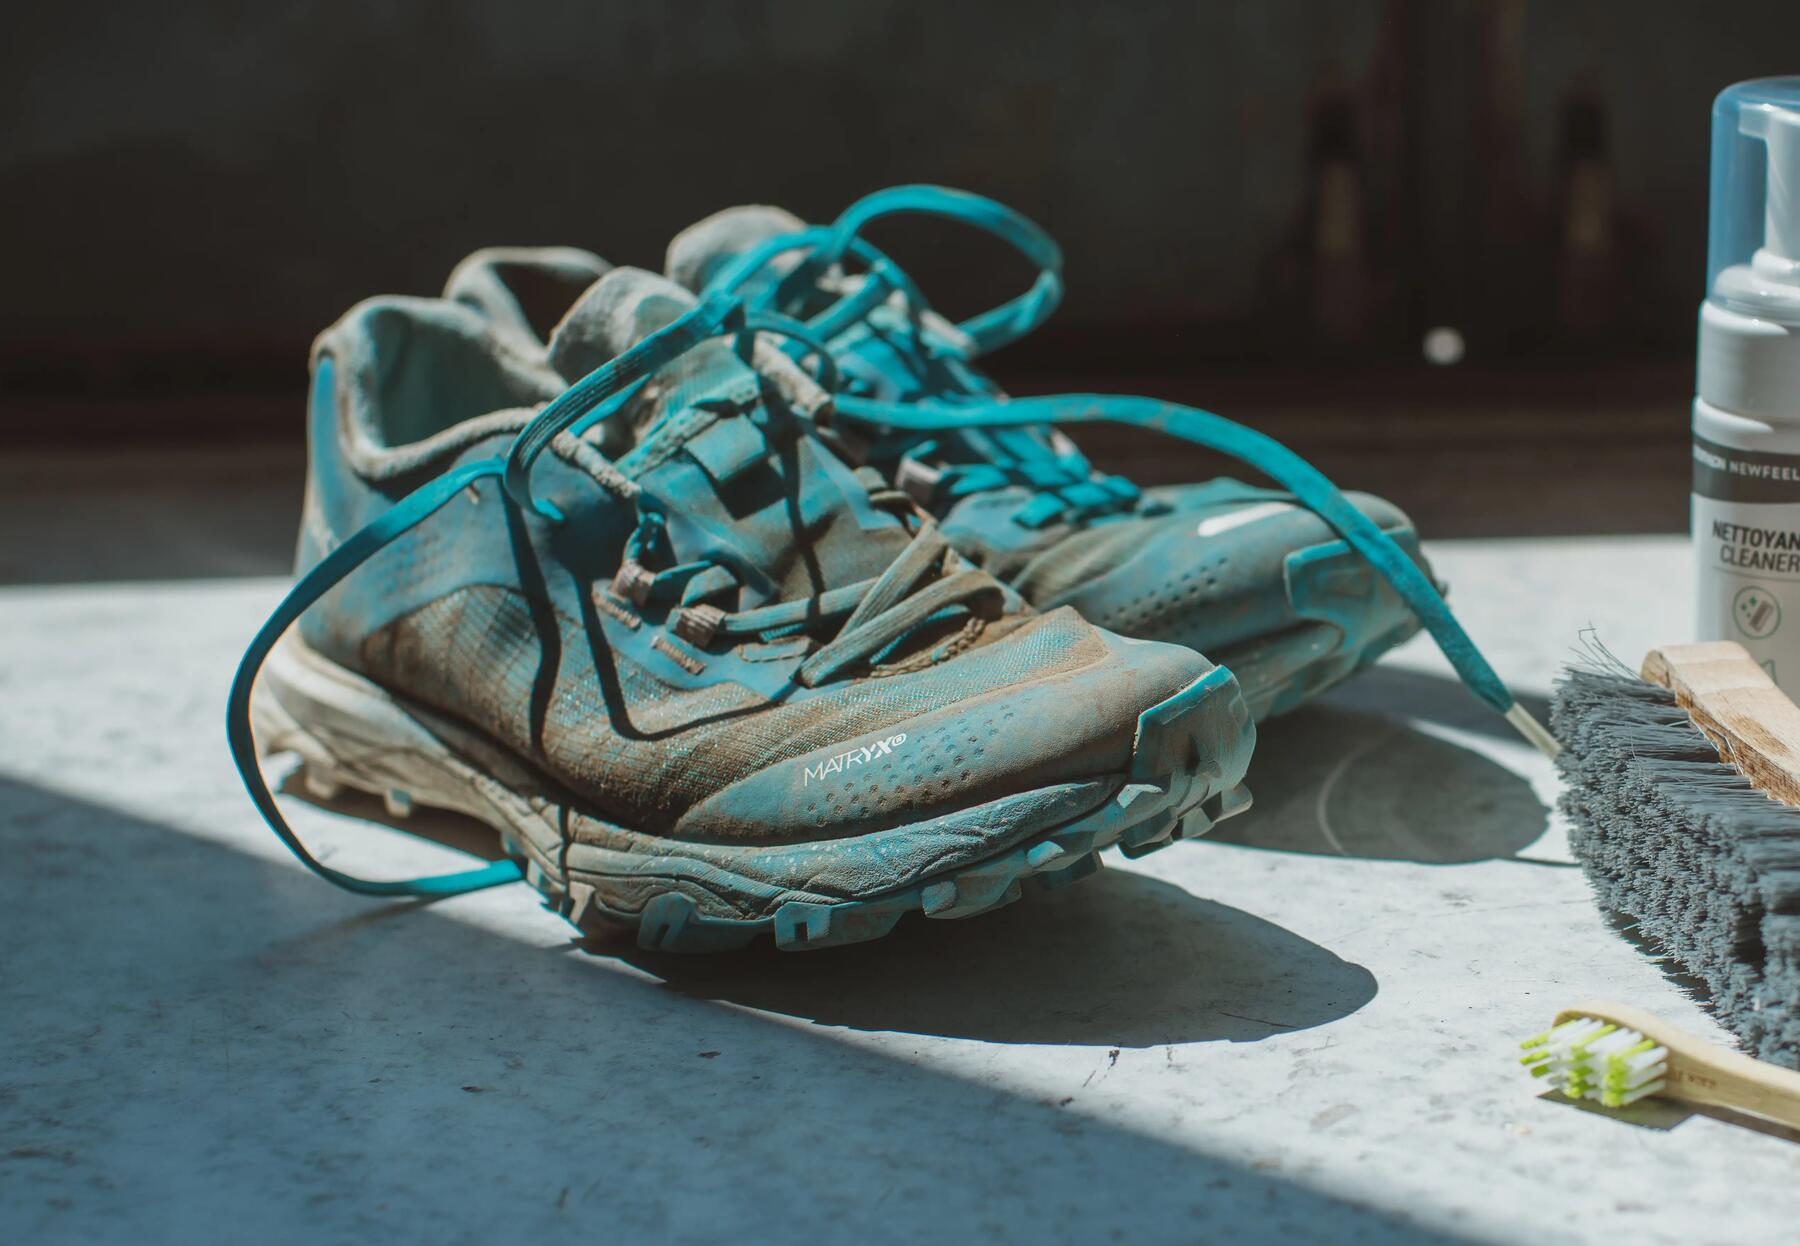
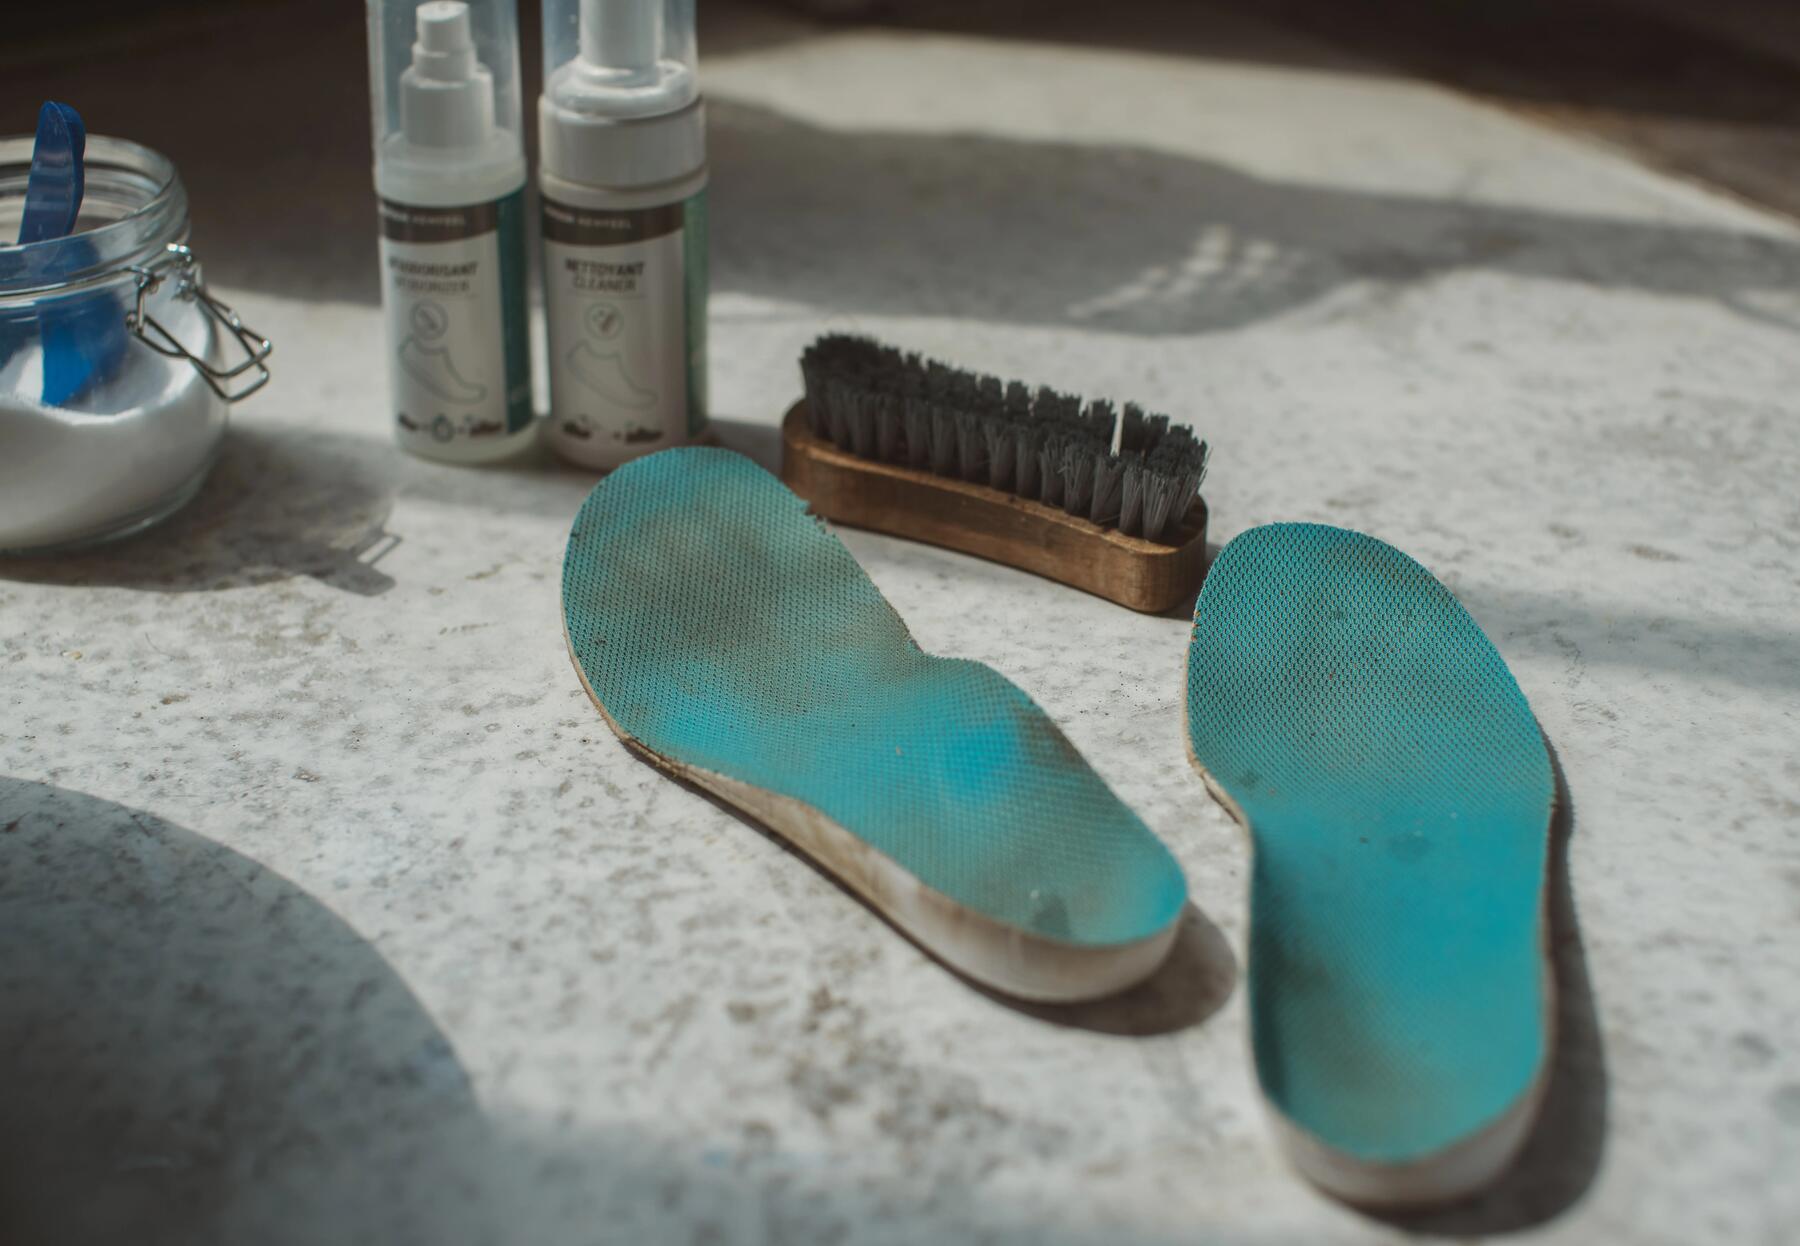
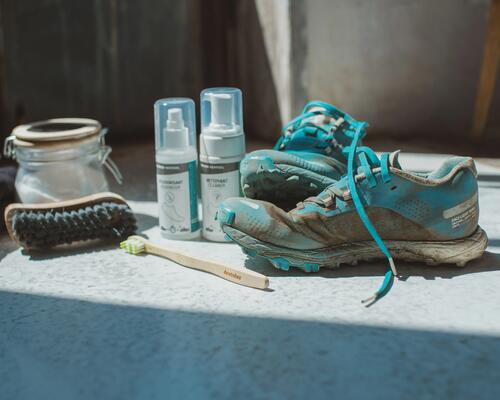
➡️ The two gluing surfaces should be clean and dry. Clean them well beforehand with a cloth and a household cleaner or soap. If there is still old glue residue, you can remove it with alcohol or acetone. Then let your soles dry. It's essential to remove any residue between the sole and shoe to guarantee a good repair.
➡️ Apply glue to one of the two spots to be repaired (heel, midfoot or toe). Apply the glue in a thin, even layer. Don't use too much glue. “The more glue you use, the better it will stick?” Not really. The glue might spill over. If this happens, you can remove surplus glue (once dry) with glue solvent or gently rub it with sand paper.
➡️ Read all the instructions! Depending on the brand, there are two possible approaches: either you put the two parts together immediately, or you wait for the glue to dry before pressing them together.
➡️ Then press the two parts of the shoe together. You then have to apply pressure for about 5 minutes (again, this time varies depending on the brand of glue used). “Do I need to apply pressure to the shoes this whole time to make sure it sets properly?” Unless you want to get an arm workout, make sure you also have a clothes pin, rubber band, a weight to place on the shoe, or really anything that applies pressure without damaging the shoe.
➡️ Let it dry in a cool, dry spot. The drying time depends on the glue. Here again, refer to the instructions.
Only too happy to have repaired them, you only have one thing in mind: wearing them during your next workout! So yes, but no. We're sorry to say it but we don't recommended wearing your shoes immediately. Wait at least 24 hours to guarantee the repair takes hold. Take a few steps to test the soles before exercising in them.