cleaning leather boots

How to look after your leather hiking boots properly

Once you've found the right fit, you want to enjoy your boots for as long as possible! Check out our tips to ensure a long life for your favourite boots.

4 Steps to looking after your leather boots properly

  1. 1 Wash and dry
  2. 2 Lubricate
  3. 3 Re-waterproof
  4. 4 Storage
  5. 5 Repair

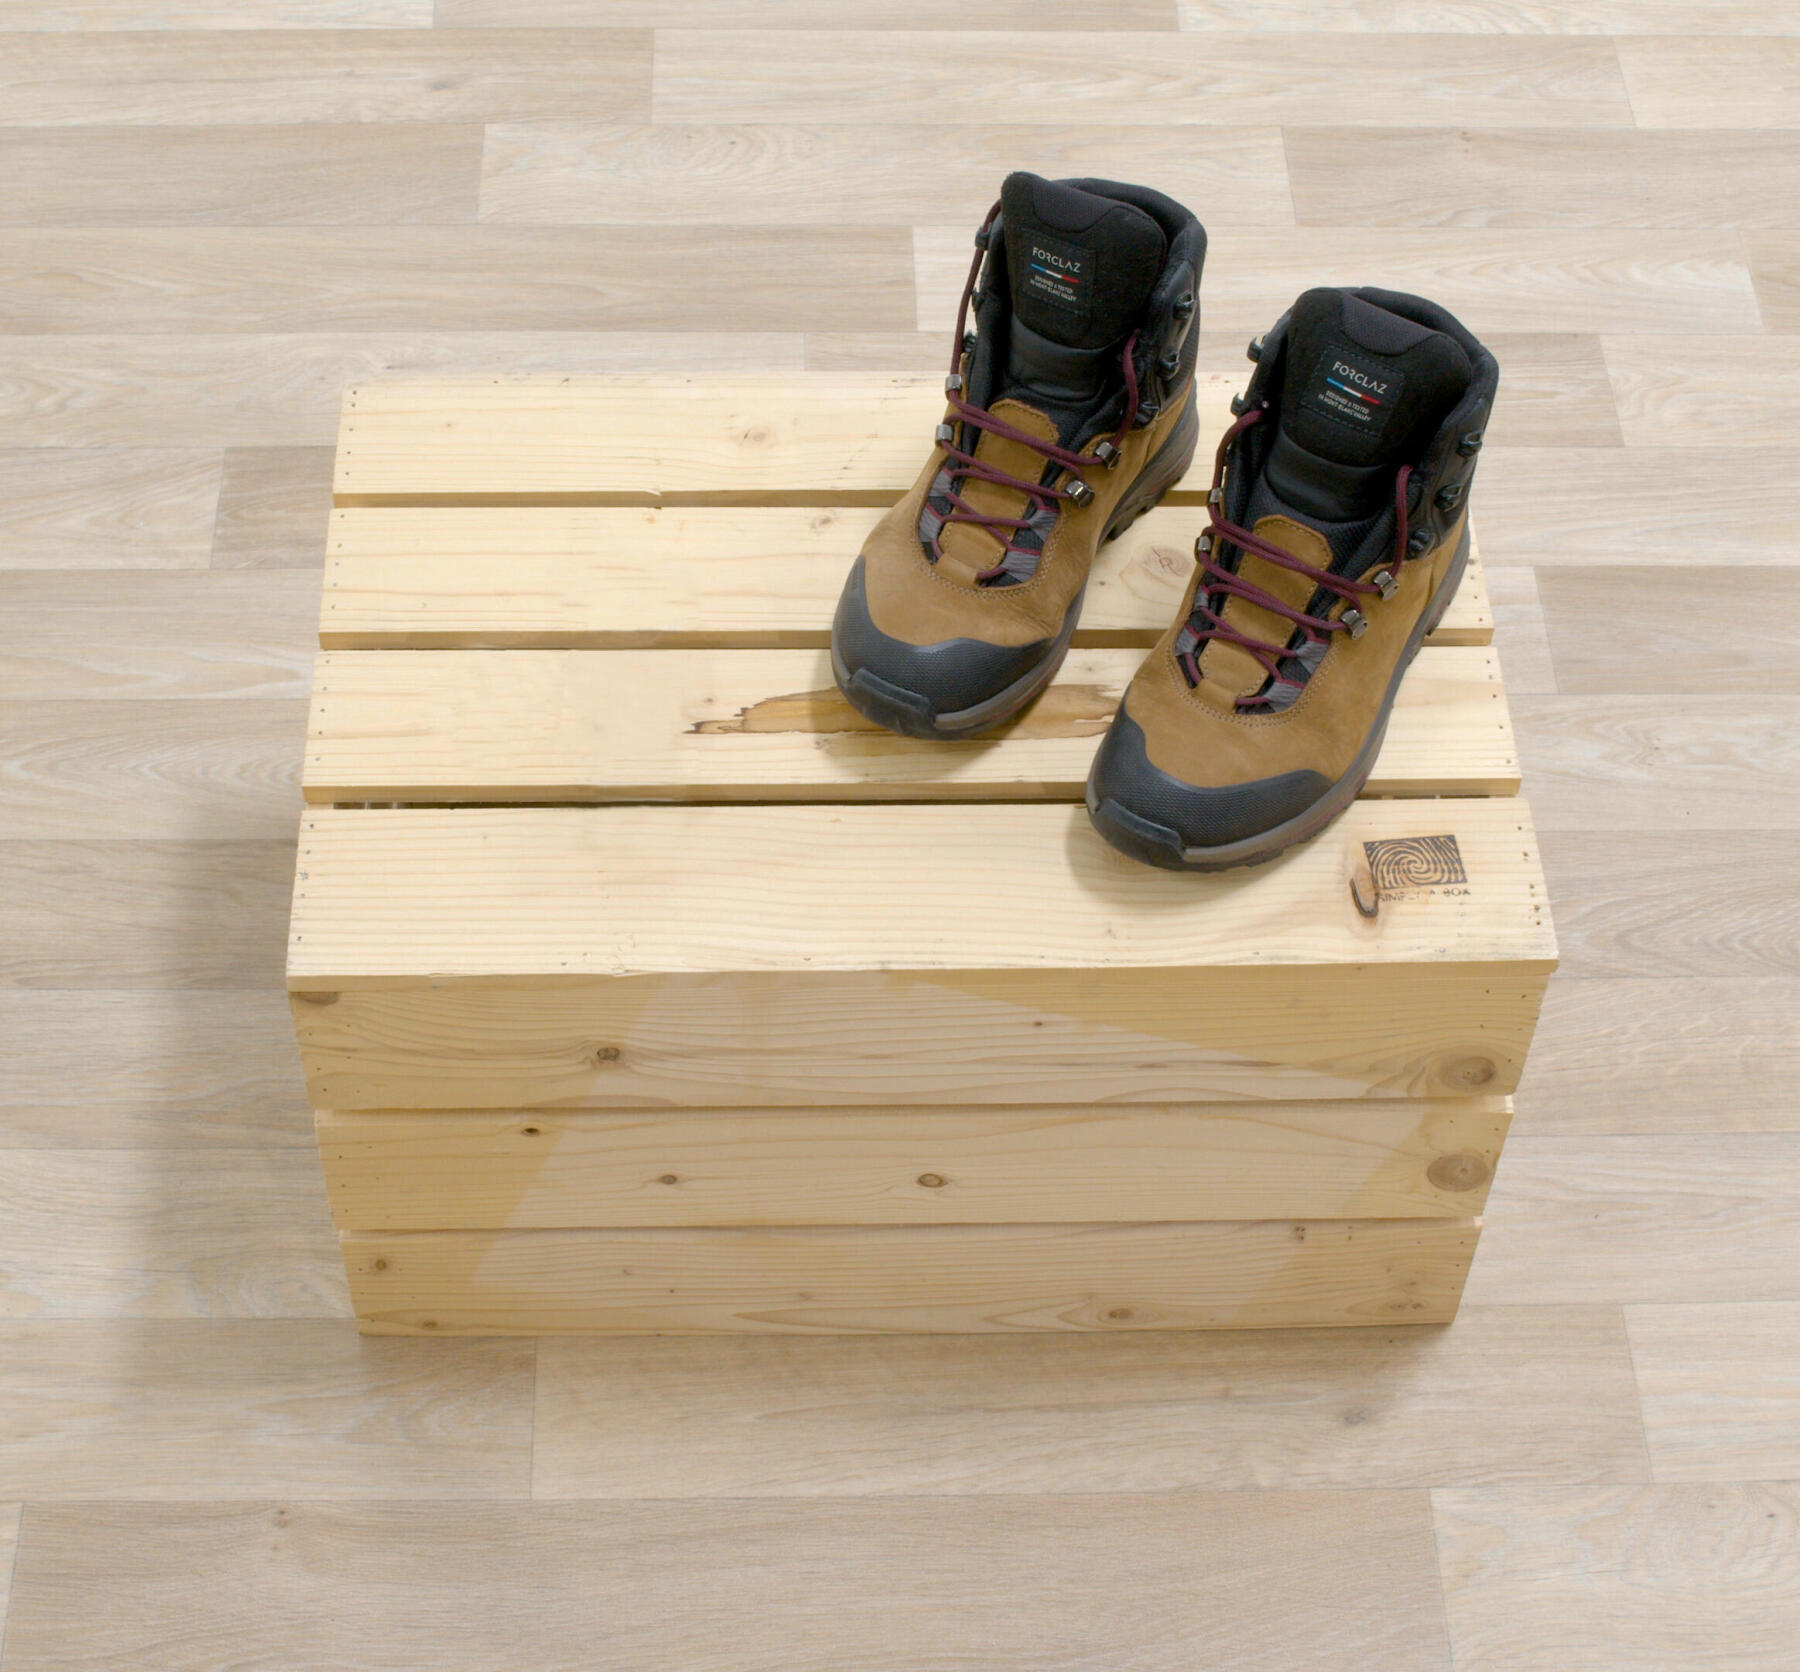
How to clean leather boots for trekking or hiking?

You may not know it, but mud, water and the elements you encounter in the great outdoors weaken the leather of your boots and cause them to lose flexibility and water-repellency.
Washing your hiking boots well is the way to guarantee keeping them longer!

Prepare the following items:
- A soft sponge
- A bowl of lukewarm soapy water (solid soap for shoes)
- A soft brush for leather boots
- Newspaper

How to look after your leather hiking boots properly

Step 1: washing
If the boots are muddy: let the soil dry and then knock it off by tapping the boots against each other.
Then remove the laces from the boots: if they’re dirty, put them in the washing machine. Also remove the insole to prevent it from soaking up water during cleaning.
Then, take the soapy sponge and clean the boot.
If a little mud remains in the recesses of the boot, use a soft brush to dislodge it. Be careful when using the brush: proceed gently so as not to scratch the leather.

What about the inside of your boots? If you’re short of time, you can cheat a bit by using a boot deodorant or shake in some baking soda to absorb odors.
Otherwise, remove the insole (also called a “sockliner”) and check if it's time to change it. Avoid rubbing the inside at all costs, as this could damage the internal membranes.


Step 2: drying
Drying is an important step in boot care because, if done incorrectly, you could damage your hiking boots.
> Good practice: leave your boots to dry in a ventilated place at room temperature. You can stuff them with newspaper to absorb moisture, but remember to change it regularly.
> GOOD TO KNOW: if you dry your boots every night in your bivouac, you also limit the risk of blisters! Dry the insole, and tuck your boots inside your tent to keep them from getting damp from the morning dew.
> Not a good idea: drying your shoes in a warm place: in front of a fire or on a radiator, for example. This can dry out the leather and cause the boot to lose its shape.

How to lubricate leather trekking or hiking boots?

Why lubricate leather boots? With time and bad weather, leather dries out and risks cracking, and isn’t as waterproof as it was in the early days.
By nourishing your leather boots regularly, you prolong their life and ensure good waterproofing!
Good to know: lubrication is especially useful for full-grain leather.

Prepare the following items:
- A grease pot for leather boots
- A soft cloth

Nourishing leather boots

Before any treatment, make sure your leather boots are clean and dry (see previous paragraphs).
Remove or loosen the laces so that you can reach anywhere there’s leather.
Moisten your soft cloth with grease then rub the leather in small circles to allow the grease to penetrate fully.
Once the boot has been fully treated, wipe off the excess grease with a dry part of the soft cloth.
Finally, leave to dry in a dry place at moderate temperature.

Re-waterproofing hiking boots

How to re-waterproof leather trekking or hiking boots?

Boots that take on water can be a real problem when trekking or hiking. Greasing the leather of your boots is a good solution to reactivate water-repellency (see previous paragraph).

To go further, there are two other solutions (for non-varnished leather only) to reactivate the water-repellency of your boots:
- The applicator, precise and easy to use: just press the foam against the boot for it to soak up the treatment!
- The aerosol, fast and effective: apply outdoors, following the instructions for use.

Good to know: a boot that wasn’t waterproof originally cannot become waterproof! These treatments let you reactivate the water-repellency of the leather, that is, its property to be hydrophobic and not absorb the droplets on its surface.

How to look after your leather hiking boots properly

How to store leather trekking or hiking boots?

Best practices for storing leather boots:
- Boots must be clean, dry and lubricated
- Choose a dry storage location, at room temperature, away from any strong source of heat (radiator, boiler, etc).
- Stuff your boots with newspaper so they keep their shape while not in use!

Good to know: if you already have a storage bag for your boots to protect your clothes from the mud in your backpack, now is a good time to take it out! Your boots will thus be protected from dust during storage.

How to repair leather trekking or hiking boots?

If you experience any pain, the insole may not or may no longer be suitable for you. So you can simply remove it and replace it with a more suitable insole.

For any other concerns (smooth or loose outsole, torn membranes, etc), it’s best to call on the expertise of your favourite cobbler!

Good to know: you bought your boots several years ago, used them a little but they’ve been stored in a rather warm and humid place. They still look in perfect condition, but after a few steps, the outsole comes off? You’re a victim of what’s called hydrolysis. The polyurethane in the sole has crumbled, after hardening and becoming porous. Boots get more damaged if they’re not used! More a good for getting some fresh air !

Now that your boots are clean, re-waterproofed and smell great, you're ready to hit the trails, come rain or shine!
Any other leather boot care tips? Please feel free to share them in the comments.

Other tips that may interest you

serrer_lacer_chaussure_teaser

What is the right way to tighten and lace up your hiking shoes?

In the mountains, it is crucial to adjust and lace your shoes correctly, for your comfort and safety. To be well supported during the entire hike, uphill and downhill.

Read an IGN map - teaser

How to read an IGN hiking map? Orientation, scale, we tell you all!

Hiking begins even before walking, as we find out the route on the map. A detailed reading of it will provide all the information on what walkers can expect, hence it is a useful and important tool.