How to clean and look after a water bladder

How to look after and repair my water bladder

You can clean, care for and repair your DECATHLON or CAMELBAK water bladder in a few simple steps so it lasts longer.

Taking proper care of your water bladder means extending its service life. It helps prevent mould, an unpleasant taste and leaks which means you can keep your water bladder for longer.

A WATER BLADDER IS VERY PRACTICAL AND VIRTUALLY ESSENTIAL FOR STAYING HYDRATED WHEN HIKING, TRAIL RUNNING OR MOUNTAIN BIKING ETC. BUT LOOKING AFTER YOUR WATER BLADDER IS NO MEAN FEAT!

There's nothing more unpleasant than finding a dirty water bladder before escaping to the country...
Here's some advice on how to care for and keep it clean.

How to clean and look after a water bladder

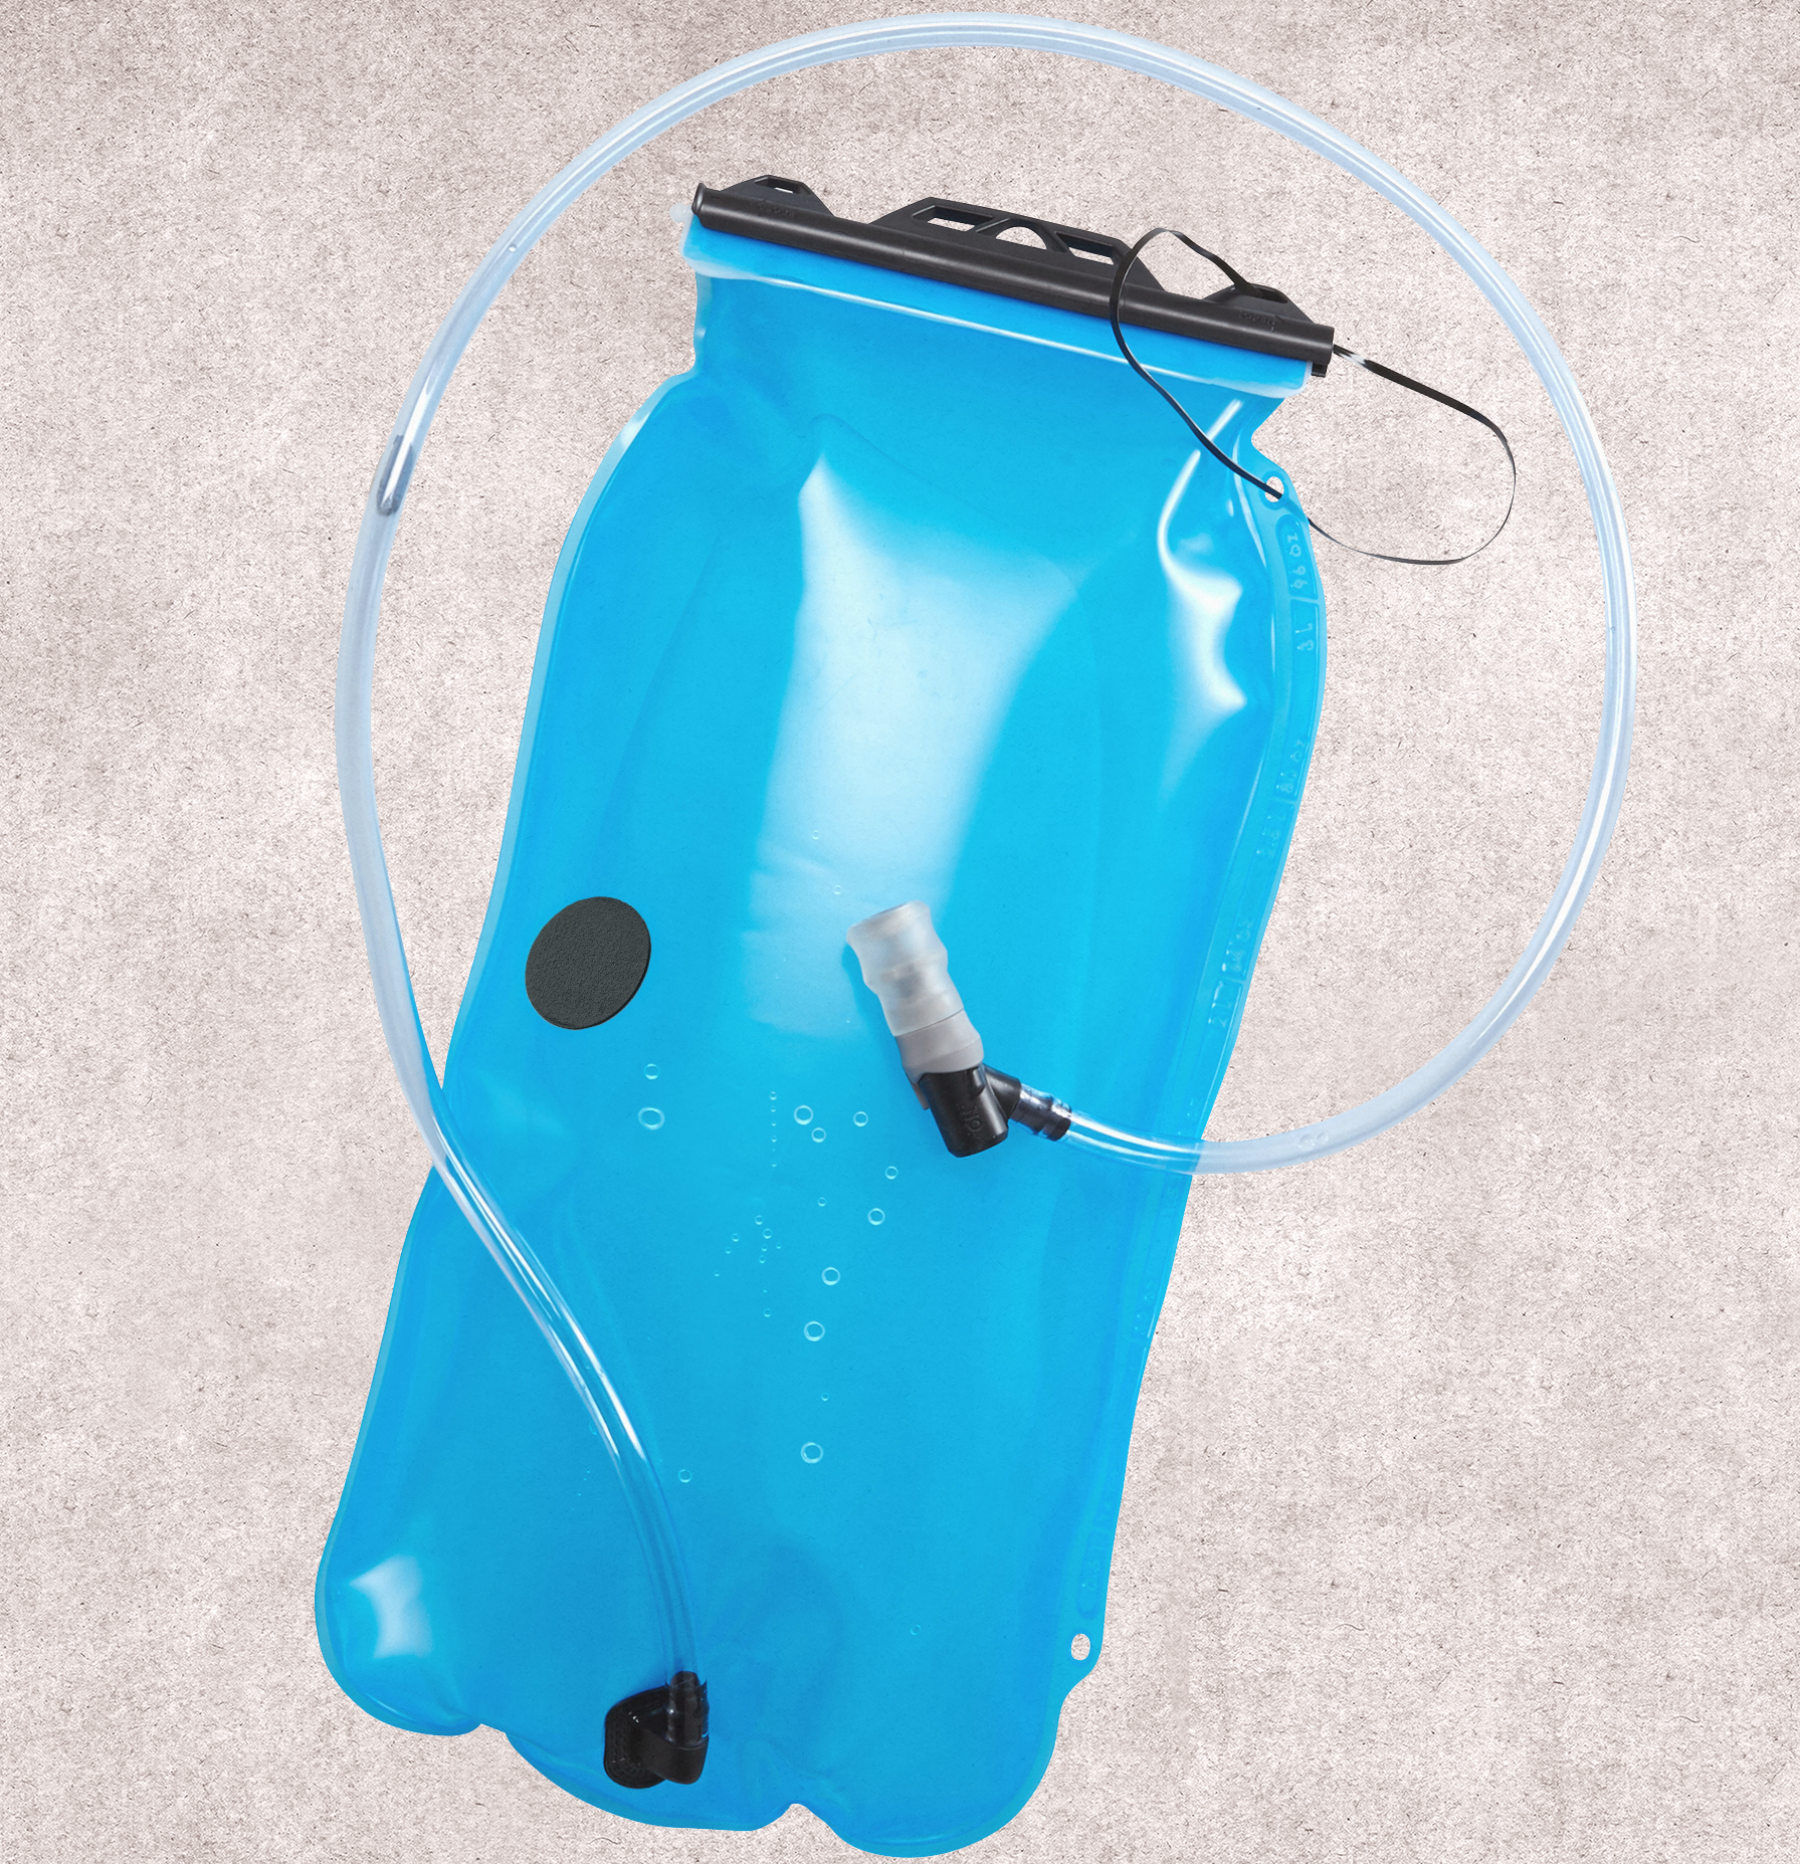
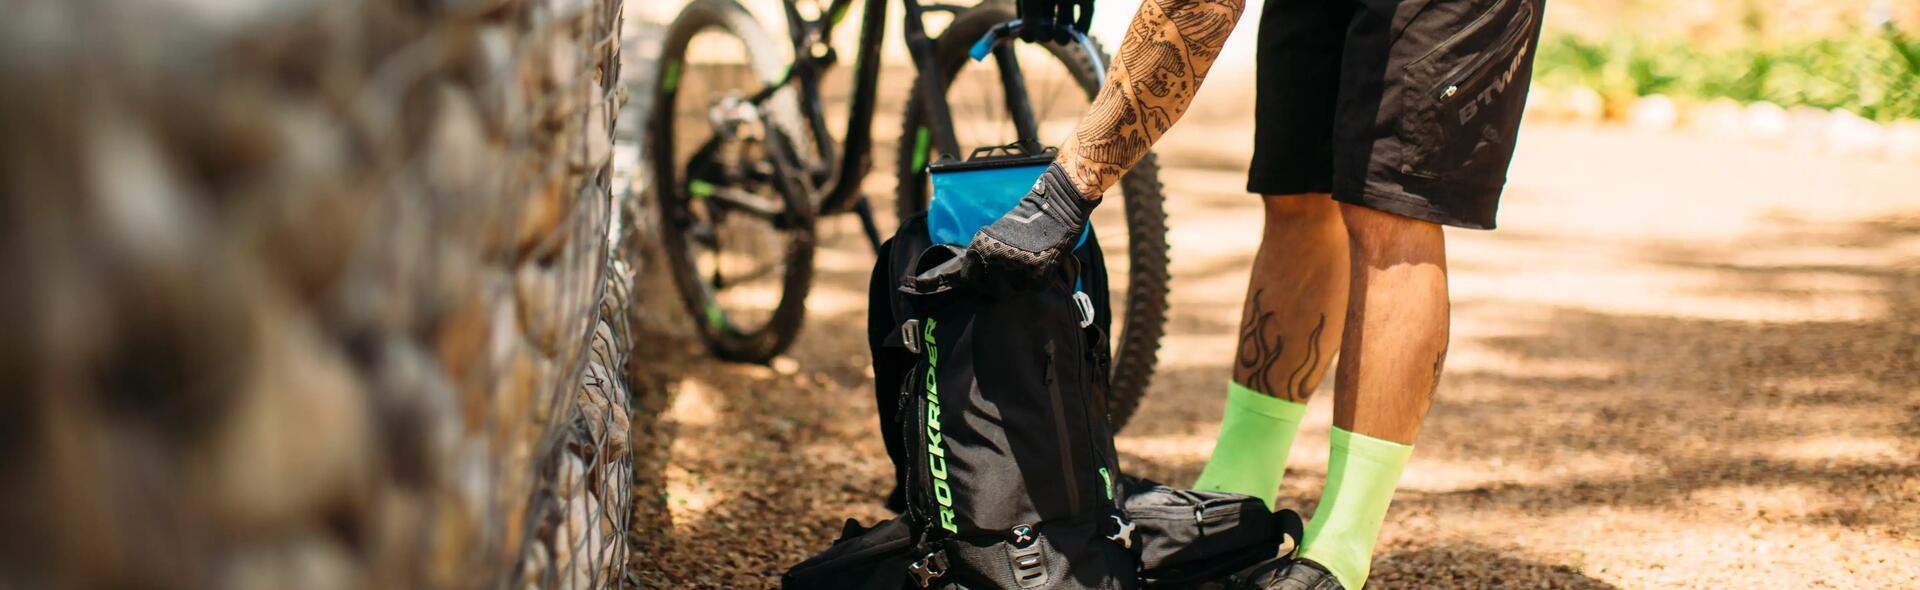
1/ The water bladder, a key piece of equipment for staying hydrated

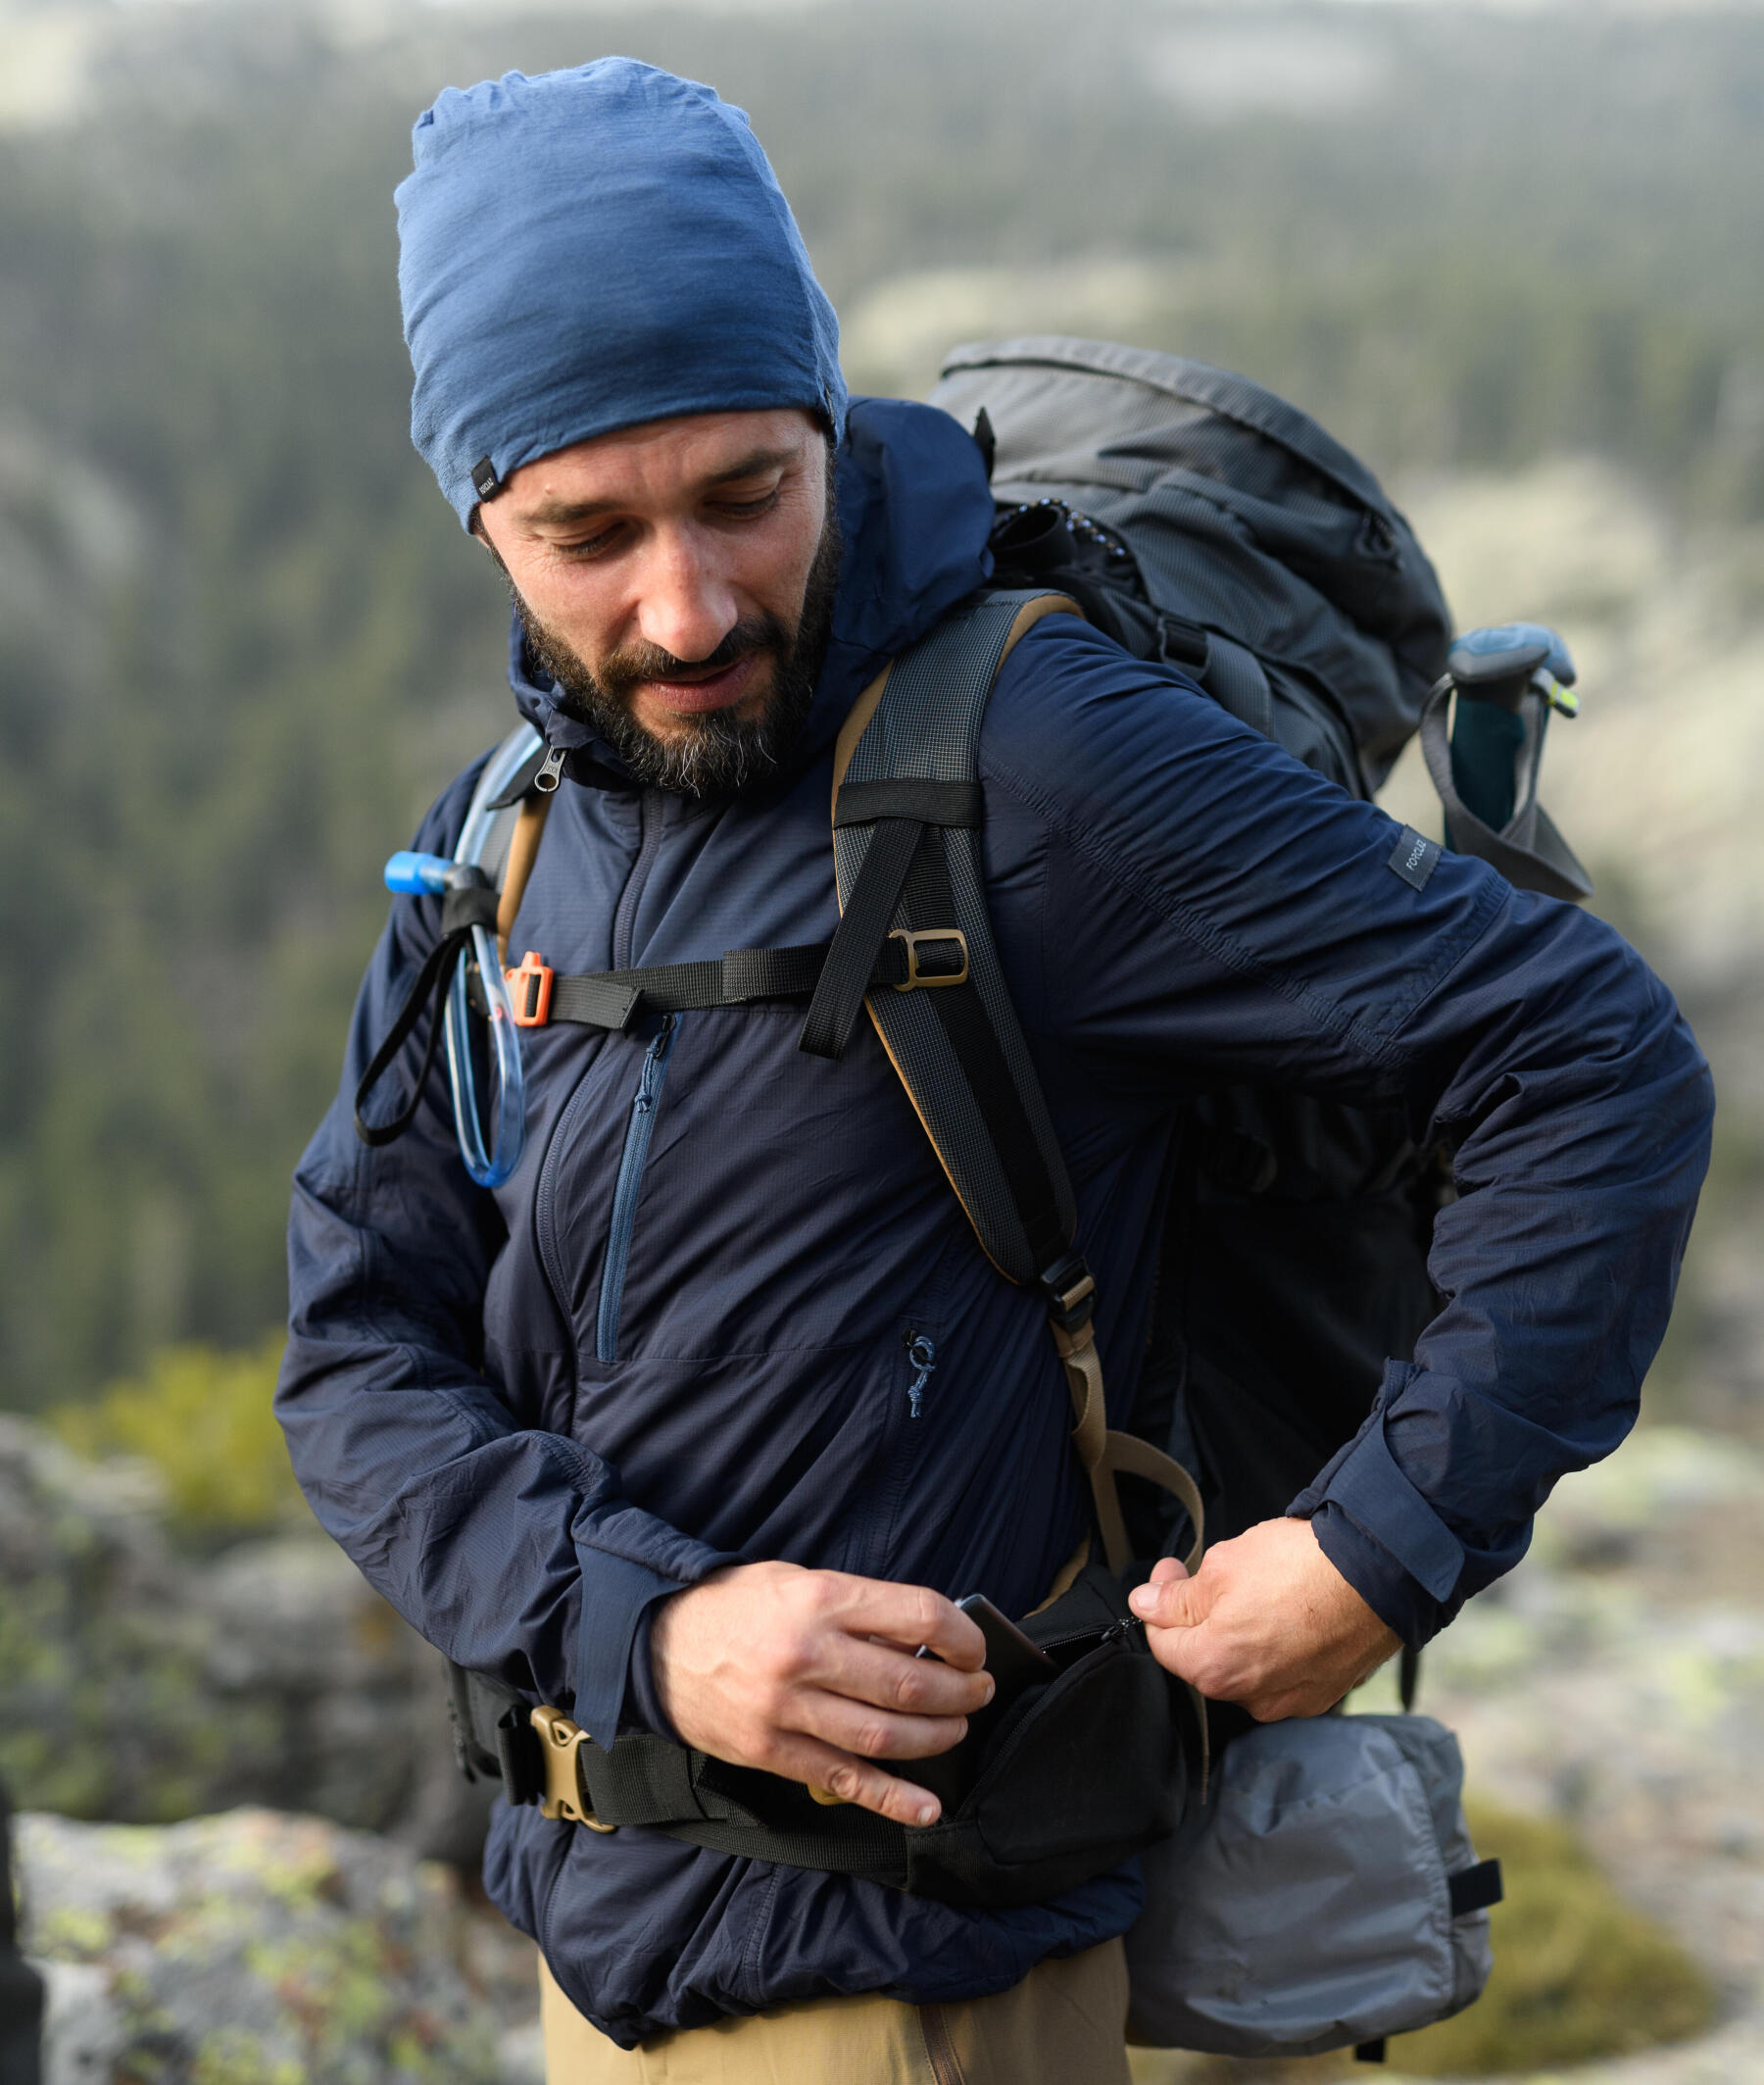
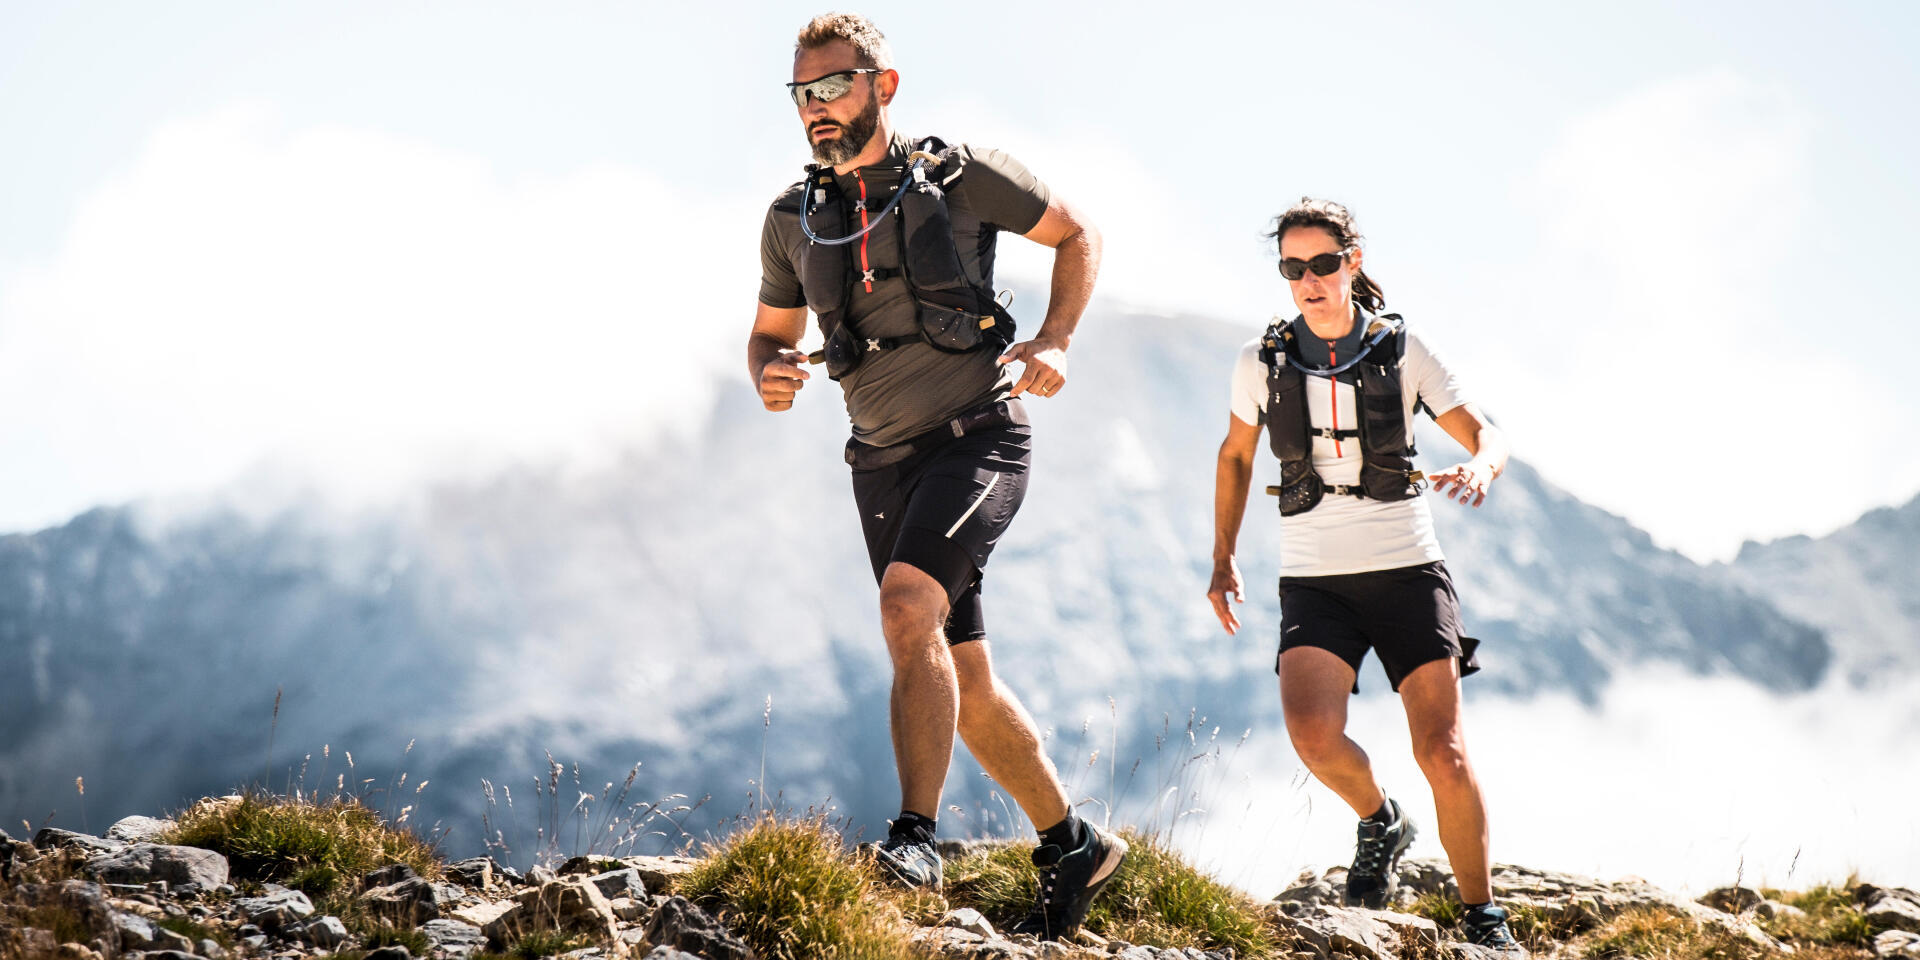
Water bladders (or hydration packs) help sports people, across all disciplines, stay hydrated: hikers, trail runners and mountain bikers.

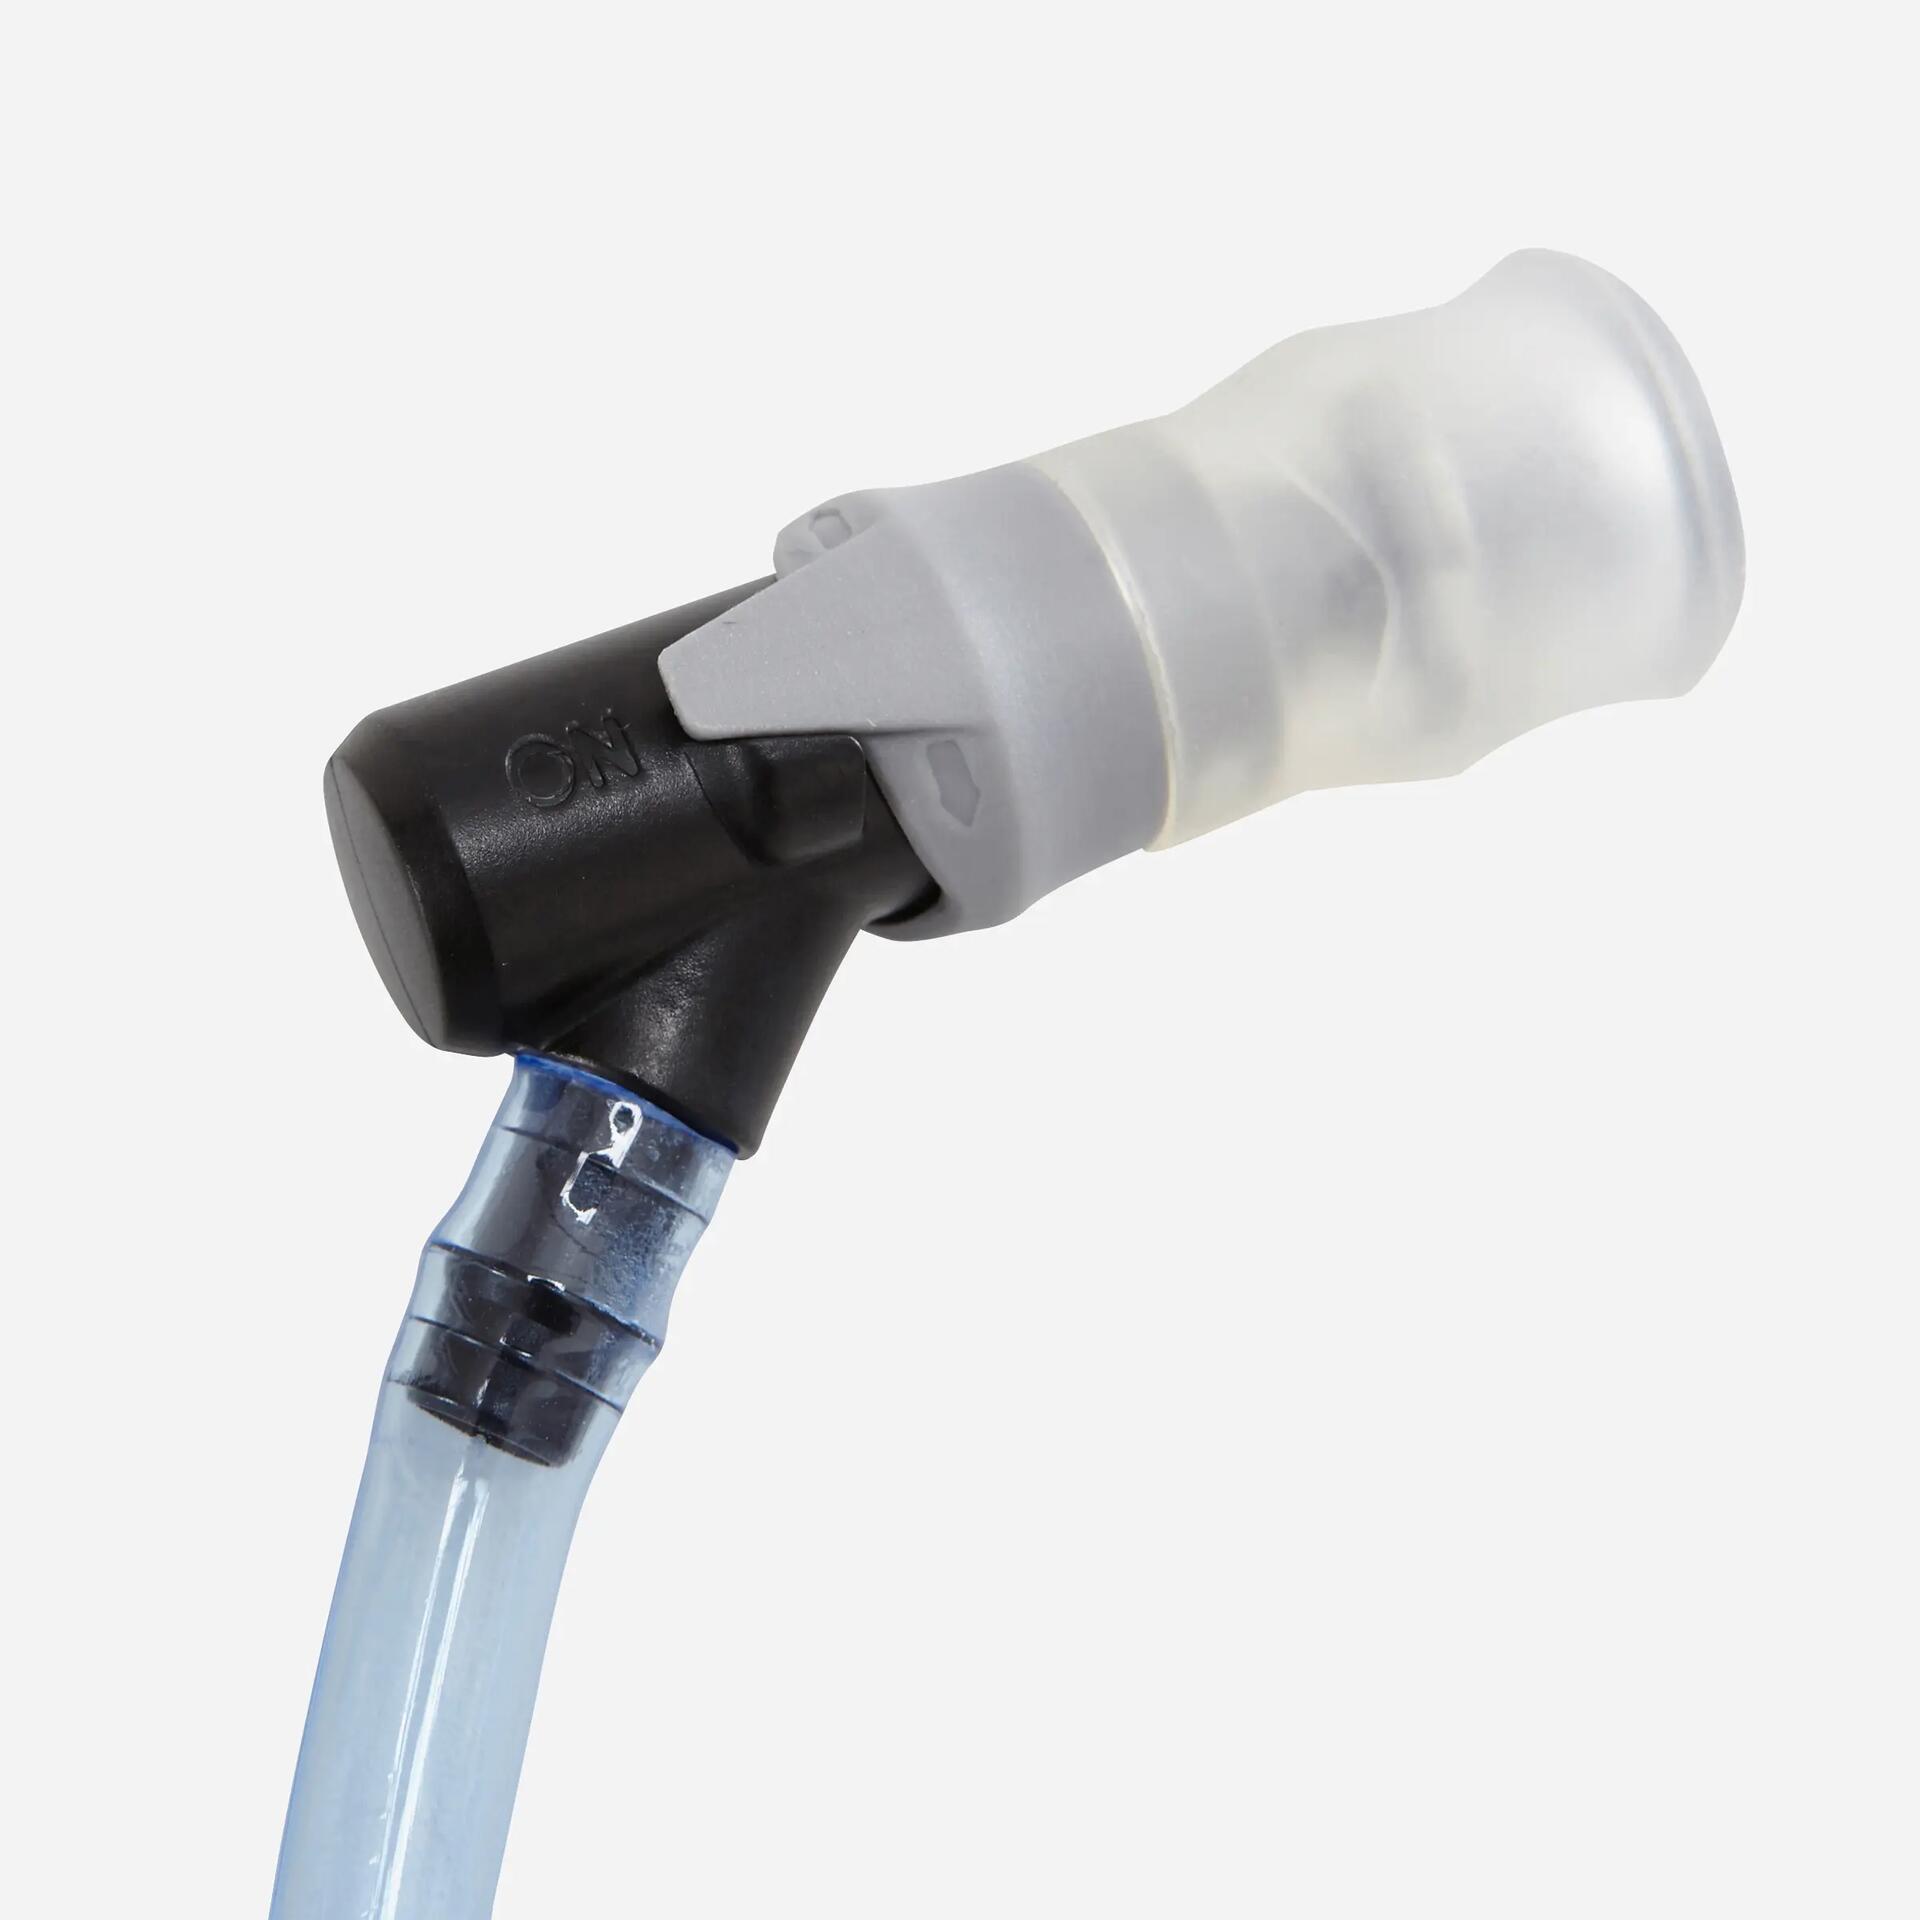
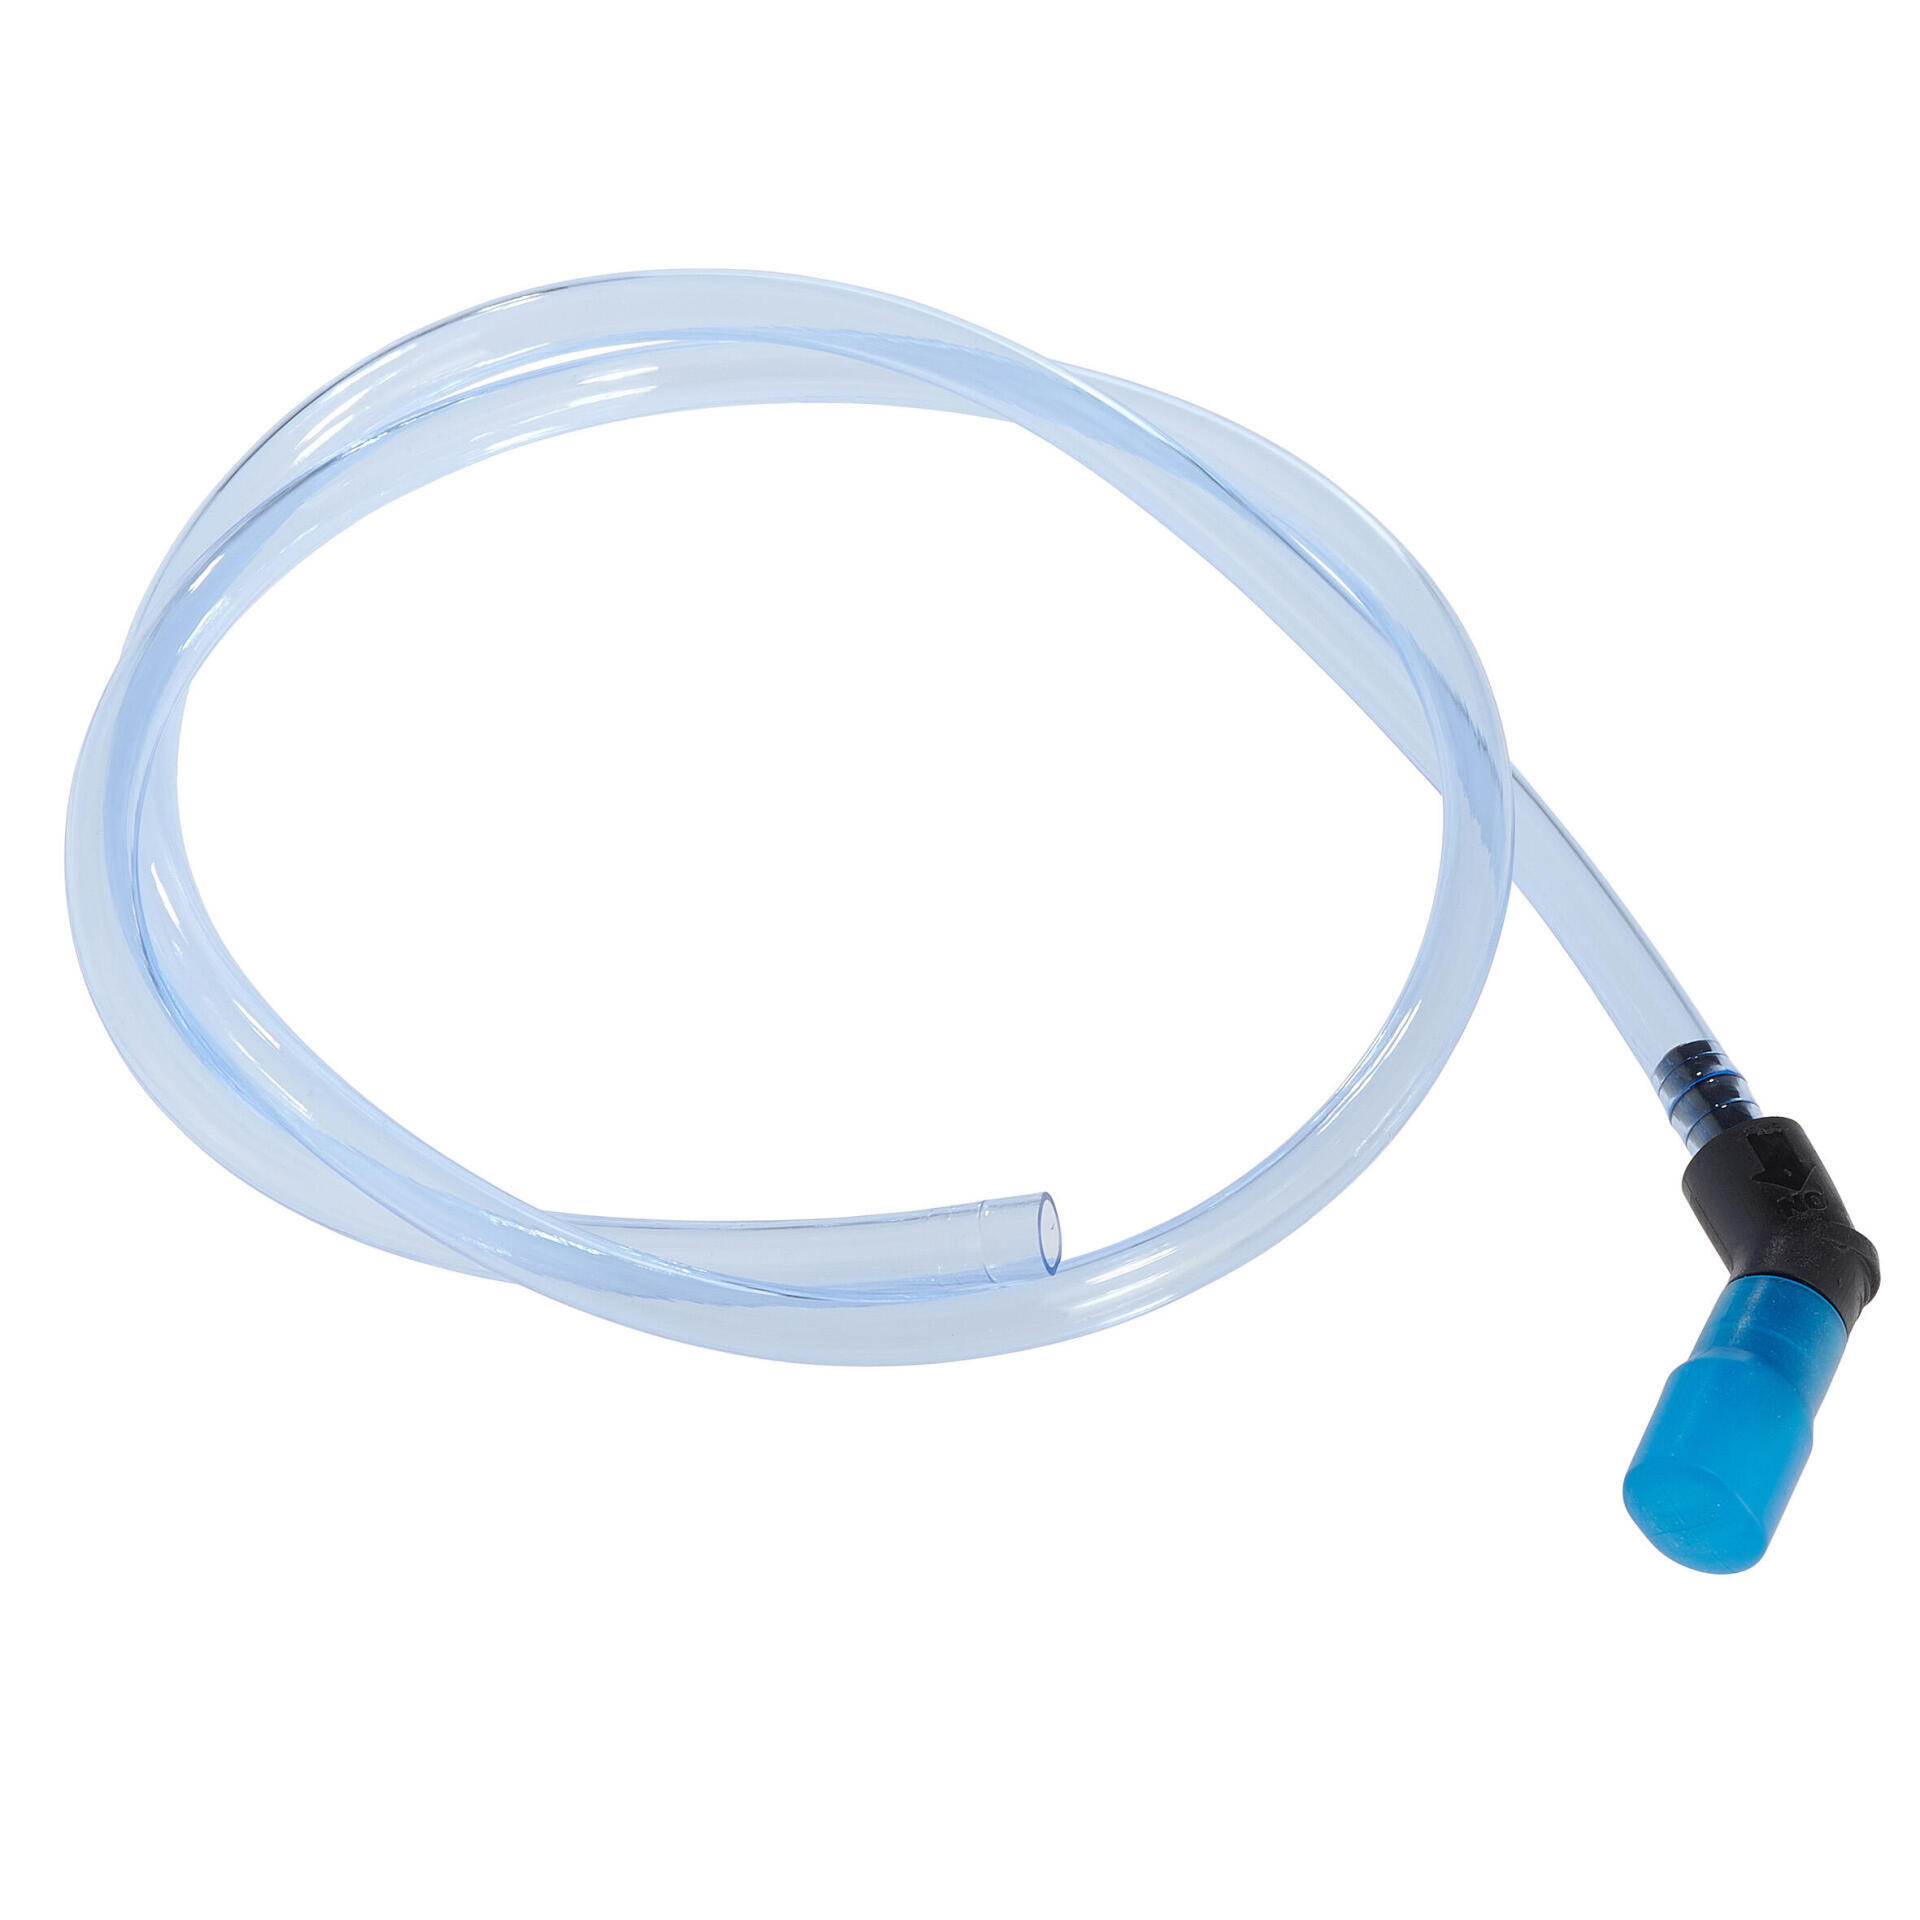
Thanks to the tube, which you keep near your mouth, you can easily stay hydrated during exercise without losing time. It's a very practical accessory that encourages you to drink more regularly.

But it can quickly take on a bad taste, giving your water or energy drink an unpleasant flavour. Keeping your water bladder clean and in good condition so you can use it for as long as possible, requires a certain level of maintenance.

HOW TO LOOK AFTER AND REPAIR MY WATER BLADDER

2/ Cleaning and disinfecting my water bladder

Proper care is essential to ensure good hygiene, avoid mould developing and to remove the smell and taste of your energy drink. Sometimes it can be difficult to motivate yourself after a challenging trip but it's the only way that you'll keep your water bladder in good condition!

After each outing, remember to clean your water bladder thoroughly using soap and water. If using a cleaning kit, use different size brushes to ensure you clean your water bladder and tube thoroughly. Don't put your water bladder in the dishwasher as you could damage the plastic seals.

Then, you can disinfect your water bladder. To do this, opt for a gentle disinfectant such as white vinegar, bicarbonate or lemon juice rather than bleach or chlorine. Cleaning tablets, specially designed for water bladders, are also very handy. Immerse your water bladder in a mix of water and disinfectant (tablets, vinegar, bicarbonate or lemon juice) and leave to soak for 5 minutes. Then rinse in clean water.

If you only use water in your water bladder, there's no need to disinfect it after every trip. Thoroughly disinfecting once every three months will be quite sufficient.

3/ Drying and storing my water bladder

It's important to dry your water bladder thoroughly to prevent mould from developing.

You can slide an absorbent paper towel or dry cloth inside your water bladder to dry it or hang it upside down. You know the water bladder is dry when you there are no signs of water or moisture inside the tube or the bladder. If using a cleaning kit, hang your bladder on the hanger, ensuring you position the expandable inserts correctly so that it remains open when drying.

If the water inside your water bladder has an unpleasant taste, ensure that it is thoroughly dry and closed and then store it in the freezer. The cold will prevent bacteria from developing so all you have to do is take it out just before your next trip!

HOW TO LOOK AFTER AND REPAIR MY WATER BLADDER

4/ Repairing my water bladder

> Is it leaking?Have you lost the straw?Is the mouthpiece worn?Don't throw your water bladder away!

Whether you're motivated by economic or environmental concerns, you can choose to repair your bladder rather than throwing it away!

DECATHLON provides several spare parts so you can repair your water bladder yourself.

> Is it leaking?Check out our waterproof, self-adhesive patches!
These patches, which comply with European and Asian food standards, can be used to seal a hole the size of a €1 coin (10x10mm)

.They have been field and lab-tested so your bladder will be completely leak-proof again, even in high-risk zones (around connector components and plastic seals etc.)

Remember to dry your water bladder thoroughly before applying the patch. Lightly sand the relevant area then position the patch, holding it in place for a good 5 minutes.

Spare parts